Showing posts with label Christmas card. Show all posts

Monday, May 31, 2021

First Christmas card of 2021, #jai556


It's Slim card week at Just Add Ink this week. Slim cards are fun, and don't cost anymore to send, and if you have any #10 envys around, they will work great in them.  But I have to say, it's a little hard for me to wrap my mind around a long narrow card, I'm so used to the reg size, it takes me a bit of thinking. 


So, if you'd like to give it a try, it's a great week to get some examples to work from, just click here.

There are some really great card by the team and posters.

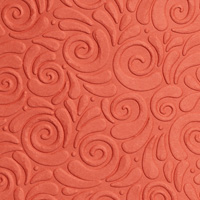
So, the stamp is a new background stamp in the 2021-2022 AC.  It, of course would do the whole long card, but what I did was use my stamp positioner and stamp and emboss each end of the card, leaving the middle without.Then I used the Bermuda Bay and my brush to add color.  The stamp is called Festive Foliage. 

The Holiday mini will be out before you know it, but for now the AC has some darling sets to get you started and this neat background.

The sentiment is a previous year as is the branch. The die set is from long, long ago, but I just don't part with some of this stuff.   Fairly quick and easy, no coloring except for the brushing over the embossing. 

Thanks for taking a look.

From there I am sorry, but I used some retired items, 

Sunday, November 24, 2019

Christmas card, Freshly Made Sketches #412


I'm very much enjoying coloring these days. It takes a little time, but is just plain old fun.
This is an Art Impressions design and the paper behind is Stampin Up Let It Snow DSP.
I used my SU watercolor pencils and my Aqua painter, it goes pretty fast.
I used my card today for the challenge this week at Freshly Made sketches.
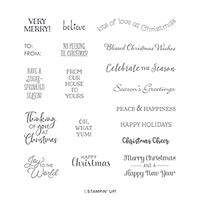
The sentiment is from the Itty Bitty Christmas stamp collection, so many Christmas sentiments to choose from. 
If you look close you'll see the SU Ice Crystals as the snow.  I just put down some of the glue from the Fine tip glue pen and sprinkled on the crystals.   I also added a small border in black to bring it out, it just seem to enhance the design. 
Thanks for stopping in and checking it out.

Thursday, November 7, 2019

Enjoy the season, Christmas card, Freshly Made Sketches #410


Is there anything cuter then 2 cats and a dog singing Christmas carols?    What a fun set to color, I did all watercolor using my Aqua Painter.  I love that tool, I use it so much I need a new set. 
Check out Linda's Sketch challenge at FMS and join in.
I used red foil for the piece behind the image, and SU's new Ice glitter for the snow.  I simply put down some glue from the fine tip glue pen and then sprinkled on the Ice Glitter.  I gave it just a minute to dry and shook off any extra glitter that was still loose.

Thanks for stopping by. If you have questions, just leave a comment and I'll answer them the same way.  


Saturday, November 2, 2019

Peace, A Christmas card. Freshly Made Sketches #409


I joined SU in May of 2012, in June the new annual catalog came out and we started a year of celebration for SU's 25th year.   Each month there was a new stamp set, each were a compilation of past best of images.  This Nativity is one in a set of 4 Christmas designs from the past, now past once again. LOL

I decided recently that I had so many stamp sets that it was impossible to even think about using any of the older sets, there were just too many.  So, I sold a bunch and kept just my favorites that I couldn't bare to part with.  This was one.

I used a piece of DSP from the Toile Tidings DSP.  Red on one side and green on the other for all the patterns in this set.   Other then that I just used Very Vanilla  and Garden Green Cardstock.   Also, I embossed using the new metallic stamp pad in Copper and Copper embossing powder, and Copper foil for my scallop oval and sentiment. 
I just sprinkled on a few tiny pearls for accent.

If you are looking to purchase the retired stamp set it's called Best of Christmas 2013. I'm not sure anyone has it still to sell, but you never know.
So, here is a link to the FMS#409 sketch challenge that inspired me this week.  

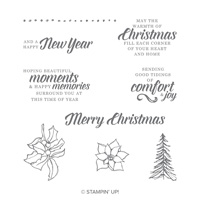
And here is a photo of the stamp set.
Thanks for stopping by.

Friday, October 25, 2019

Perfectly Plaid with sparkle Christmas card


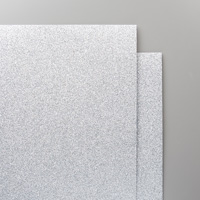
Here is a fairly quick card, given some elegance by using Silver Glimmer paper for the center tree. I stamped the trees on the side with Shaded spruce on white simply because I thought using the green to cut them out would make them too dark, I did sponge the edges a bit to enhance the tree look.
My base is Shaded spruce, I cut my white at 5 1/2 by 4. the plaid paper is cut just a bit smaller then the white so it doesn't show, or you can cut it the size of the white, cutting the white down a bit more so the plaid shows on the edges.
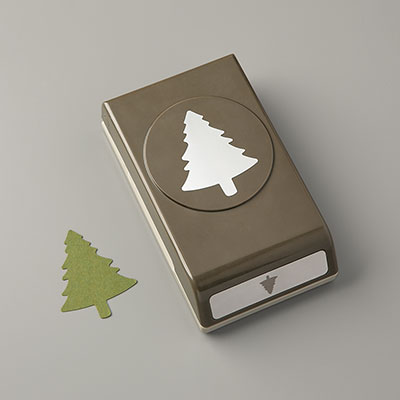
I punched out a tree from printer paper, laid it on the center, then put down my green trees where I wanted them, then brought in the glimmer tree so it was right where I wanted it.

The sentiment is from Itty Bitty Christmas stamp set. All small sentiments, all Christmas/holiday.

Thanks for stopping by,  I hope you got some inspiration today.


Sunday, September 15, 2019

Poinsettia Christmas card, Freshly Made Sketches#402


Inspiration for this card came from this weeks sketch at fms#402.  Lately I've been using a lot of different colors for my Christmas cards, that's always fun. But today I've used Merry Merlot and Shaded Spruce for a more traditional look.
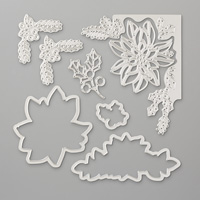
The plaid is from Wrapped In Plaid DSP, and the holly is from the Detailed Skate dies.

The team cards are really special this week, be sure to check them out.  

I've actually gotten quite a few cards completed for Christmas, that's a good thing because I've decided to make embroidered  wall hangings for my family for Christmas and that's taking a lot of time.
Thanks so much for stopping by.

Thursday, December 6, 2018

Under the Mistletoe, Festive Friday #0022


Not enjoying time without my desktop computer.  I just deleted my whole post and not sure how I did it. 
Anyway, one more card made for Christmas.  I need to get them in the mail, toot sweet!
I decided to use some of the under used sets.  The little poinsettia is from Timless Tidings, as is the sentiment.  It's mostly a nice sentiment set, with a few little sweet graphics.

Colors are Real red, Shaded spruce, and Crumb cake.  I used the new Corrugated embossing folder to make the crumb cake corrugated. 

I used the Stitched Shaped Framelits for the outside red oval and the Layering Ovals for the sentiment layer.  Also I added thge Poka dot tulle ribbon under my ovals. 

Here is the Challenge, check out the rest of the projects and join in.


I hope you decide to join in the fun.  Thanks for stopping by.


Tuesday, November 27, 2018

Poinsettia Joy, The Paper Players#420


I'm a little out of my element with all the boxes required by this sketch, but here it is.  Colors simply are Lovely Lipstick and white with gold foil.  I think the glimmer holly is Mint Macaron.  It's from a pack from last year I think that I had never used.    The new pack this year of 6x6 glimmer paper in the Holiday catalog has a different, bit darker green in it.

The first layer is the Dashing Along DSP, it's a good one as it only as 3  different designs, 6 if you count both sides, and more multiplies then usual.

Then the Gold foil, lovely lipstick run through the Curls and swirls EF and applied over the gold, then the poinsettia cut in gold over the lovely lipstick.   The Joy is cut using the Petite Treat framelits die.


Tuesday, November 13, 2018

Simple Joys, Christmas Card, GDP#164


Very simple card today, a little bit of work with the Big Shot though.  The inspiration for this is from a card made by Jan Brown, her's was all white and while it is stunning, I'm kinda all about color. When I do a white card, it always has a pop of color, and with this one, I got to wondering how it would look with this beautiful very soft green, Soft Sea Foam, I'm not a green person, but this is so soft and pretty, that I do love the color.

Here is the challenge.


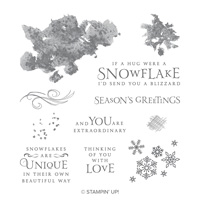
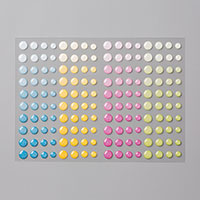
White card base, cut your green a bit smaller then the card base, cut the leaves from both Pretty Pines thinlits and Detailed Poinsettia dies.  Cut the solid backing die out of Vellum from the Poinsettia, then cut the poinsettia out of white using both the detailed part of the die and the backing that is around the outside edge.  Glue together.  I put my dimentional in the center but left the paper on the one side so it could be positioned and then put it where I wanted it and laid down my greenery. I also used the big Cloud stamp from Snowflake Blizzard, stamped off on my paper then lightly on my card  a couple times. Then added in a few stampings of the dots stamp the same way, all for some added texture.   Take the paper off your poinsettia back and glue down, add a sentiment.    I used the Glitter Enamel Dots from the A/C catalog in yellow for my center.

Merry Christmas!


Saturday, October 27, 2018

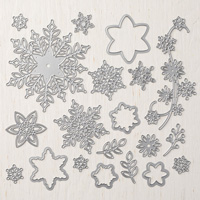
Snowflake fun, Case This Sketch 295


To me, snowflakes should be blue most of the time.  So, besides the glimmer, and copper is a large one out of Balmy blue. It's so much fun stacking them all up in the different sizes.  This set is a keeper in my stamp room.

For inspiration I'm playing along with Case This Sketch,


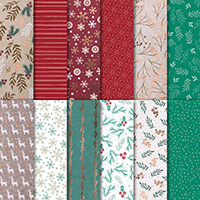
I simply cut some pieces of my Joyous Noel DSP  and made them my stripes, then added my snowflakes and a sentiment and I'm done.

The snowflake set goes on sale on Nov 1, but is subject to ending if they run out, so if you love this set, you might want to order it early.


Monday, October 22, 2018

Cat in the Woods Christmas, Festive Friday 0019


I had to wrack my brain and dig through my retired stash for todays card. I wanted to use the Festive Friday challenge, but I don't want to make a Halloween card, or a black card, I'm focused on getting my Christmas cards done.  I don't send Halloween cards out, my grands are grown, the youngest are in college.  I do love sending Christmas cards, but I also love making them one at a time, and the challenges are a great way to do that. Click here to check out the challenge, why not come on over and play?


I am going to figure out some way I could have done this better later on, I'm sure, but I think it's kinda cute.   They sure do grow those cats large in the woods tho.

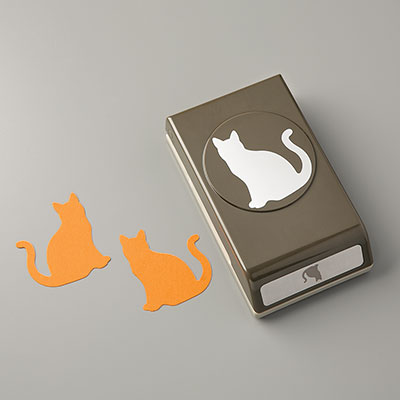
I used, Whisper White, Basic black, Calypso Coral, Pacific Point, Shaded Spruce and Lovely Lipstick.  Also, I used lots of sets going after all the little pieces I wanted. The tree is from Lovely as a tree, you all know that one. The cat is of course the SU Cat punch, I added his santa hat from the retired set Santa's Suit. I have the punch for the santa hat from the Cookies set but it was too large.

The holly on my cat is from Retired Hang your Stockings set, it was the smallest holly that had a die to cut it out.  The Joy sentiment is from our current Snow is Glistening, it is so current, it's going on sale in Nov, just for that month, check it out, it's a fabulous set. A keeper! I'll not be getting rid of it.

Santa with his sleigh in the sky is from Hearts Come Home, it's a carry over set from last year that is in the Annual catalog.

Thanks for checking this out, if there are any questions just ask in the comment section, I'll answer the same way.


Sunday, October 21, 2018

Tin Tile meets Poinsettia, JAI#431


I sat down one day and did up a bunch of different colors using the Tin Tile Embossing folder. If you haven't gotten it yet, you really do need to.  It's absolutly stunning. Anyway, I embossed (tip: spritz with a bit of water before embossing and you'll see a deeper, better pattern.)  I sponged some darker ink on, and also sponged some of the Shimmer paint and they all turned out wonderful.

Here is this weeks challenge at Just Add Ink: 


I decided to use the Smoky Slate one for this challenge.  And yet, the tiny dots of glue are showing on the top of my vellum piece, but they will be gone once the glue dries well, that can take time with the vellum.  The surprise was that I could use the Fine Tip Glue pen on the glimmer paper. I put a drop on each side on the bottom and you can't see at all. I just held it down for a bit and it worked great.  It's really hard to adhire anything to the Glimmer paper.

My colors today are: Lovely Lipstick, Smoky Slate, Very Vanilla and Pear Pizzazz.

I cut the Poinsettia out, then cut a piece of the silver foil out with the Poinsettia frame.  When you get your set, know that the poinsettia cuts a hole in the paper if you just use the detail piece, put the outside frame around it to cut it out for use by its self.  I also cut one of the leaves out with multi purpose paper on the bottom so it would stick down easily.

Any question, just please ask in the comments and I'm happy to answer.